
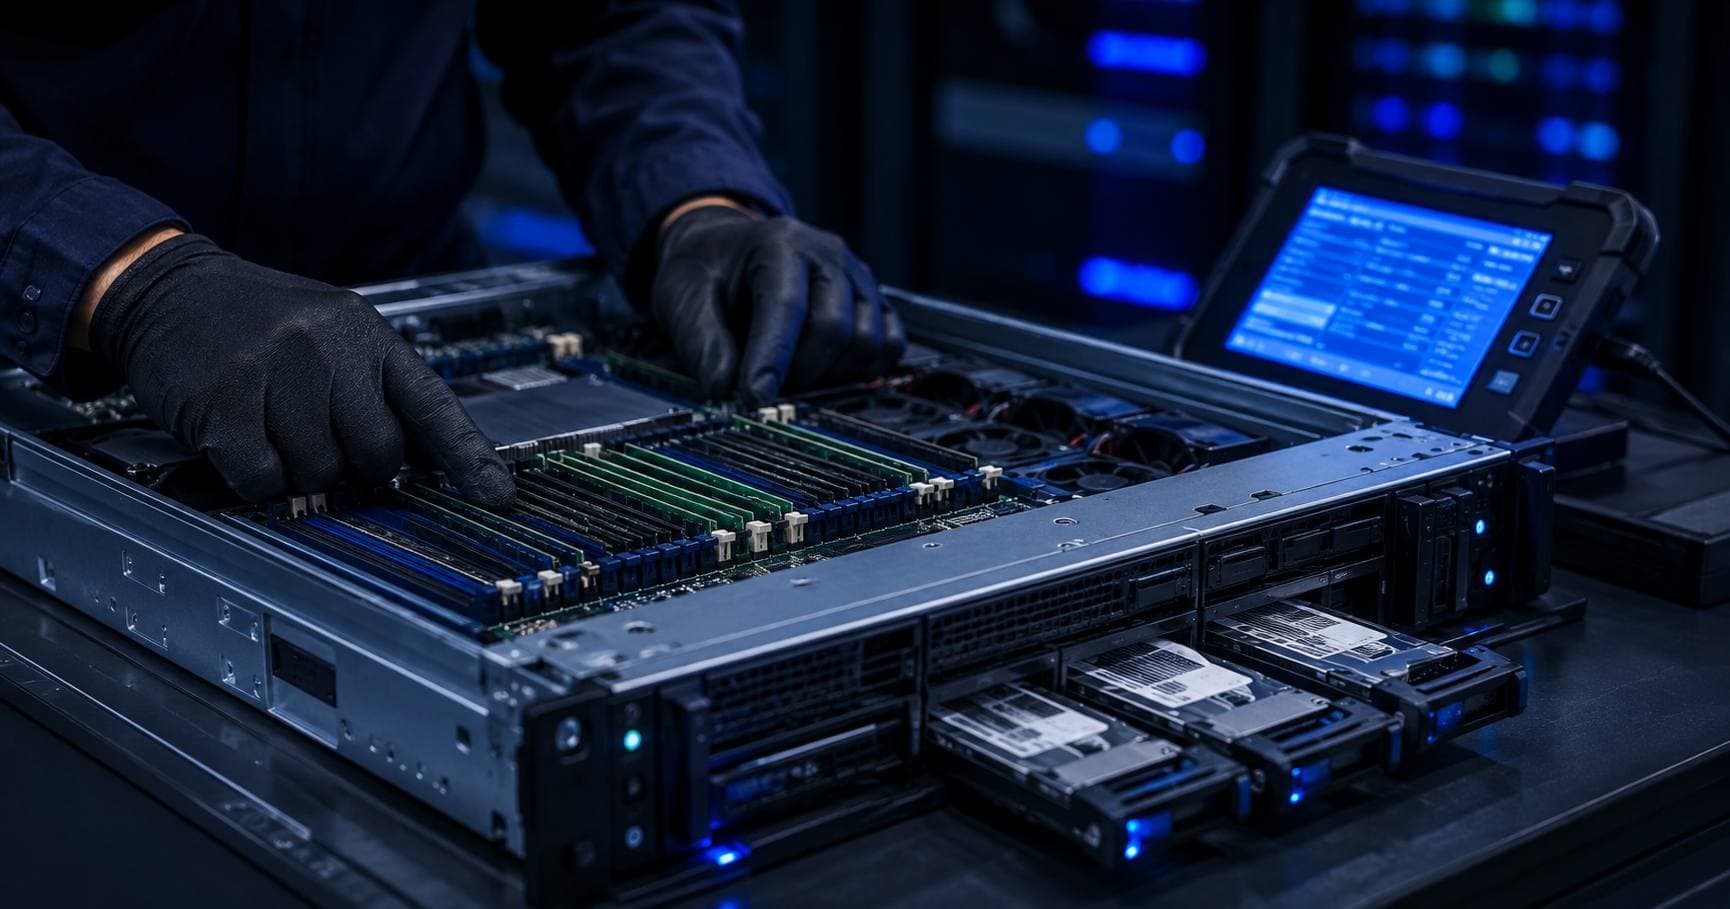
How to Test a Refurbished Server the Day It Arrives — A Post-Delivery Checklist
If you searched "how to test a refurbished server after delivery" or "verify used server condition on arrival," it's because a server passing your seller's pre-sale checks doesn't guarantee it survives shipping, handling, and the first few hours of power-on at your end. Quick answer: before you deploy anything on it, physically inspect it for transit damage, boot it and check POST/BIOS matches the specs you paid for, verify every drive with SMART health data, run a short stress test under real load, and confirm remote management (iDRAC/iLO) works — all within your dealer's dead-on-arrival (DOA) window, so any issue is still covered. This checklist walks through each step and why it matters.
Why Test Again When the Seller Already Tested It
A reputable refurbished-server dealer runs real diagnostics before a unit ships — our own buying checklist covers what to ask a seller about that process. But testing at the factory or warehouse and testing after a multi-hundred-kilometre truck or courier journey are not the same event. Vibration during transit can loosen a RAM stick or a drive tray connector that seated fine on the workbench; a rough handoff can jar a RAID controller battery; a server left on a loading dock overnight can see a temperature swing that a component barely tolerates. None of this means the server was misrepresented — it means shipping is its own risk, separate from condition at time of sale. Testing on arrival is what actually confirms the unit that left the warehouse is the one now sitting on your rack, in the same working condition.
This matters even more because most dealers' warranty terms include a short DOA (dead-on-arrival) replacement window — typically the first few days after delivery — where a defect gets a straightforward swap instead of a warranty claim process. Catching a problem on day one, inside that window, is a materially easier fix than catching it three weeks into production use.
Step 1 — Physical Inspection, Before You Power On
- Check the exterior for shipping damage — dents on the chassis, a bent rear I/O shield, or a cracked drive caddy are worth photographing immediately, before you unpack further, in case you need to file a transit damage claim.
- Confirm everything you ordered is in the box — rail kits, power cords, any included cables, and the drives/RAM you paid for. A common, easily-missed issue is a server shipped with fewer DIMMs or drives installed than the listing specified.
- Match the serial number on the chassis to the one on your invoice or warranty document — this is what your warranty claim will reference later, so confirm it matches before you're relying on it.
- Check for loose components by opening the case (with the server unpowered and unplugged) and visually confirming RAM sticks, drives, and expansion cards are fully seated — a quick look here can catch a transit-loosened connection before it causes a boot failure.
Step 2 — First Power-On: POST and BIOS Verification
The first boot tells you a lot before you install anything:
- Watch the POST (Power-On Self-Test) screen for any reported errors — memory errors, a drive not detected, or a fan failure warning will usually show here before the OS even loads.
- Check installed RAM in BIOS/UEFI against what you ordered — total capacity and, if it matters for your workload, the number of populated channels.
- Confirm the RAID controller sees every drive you expect, in the RAID controller's own pre-boot utility (not just the OS later) — a drive that's physically present but not recognized by the controller is a real, catchable-now problem.
- Note the firmware/BIOS version shown at boot — you'll want this on hand if you ever call support with an issue.
Step 3 — Drive Health: SMART Status and Power-On Hours
Storage is the component most worth independently verifying on a refurbished server, since a drive's history isn't visible from the outside:
| What to check | Why it matters |
|---|---|
| SMART overall health status (Pass/Fail) | Flags a drive the manufacturer's own self-monitoring already considers degraded |
| Reallocated/pending sector count | A non-zero and climbing count is an early failure signal, even if SMART still reports "Pass" |
| Power-on hours | Should roughly match the condition grade you were sold — a "lightly used" drive with extremely high hours is worth a direct question to your seller |
| Drive temperature under idle vs. load | Confirms the drive bay's airflow is adequate once the server is under real work, not just sitting idle |
On Linux, smartctl -a /dev/sdX (from the smartmontools package) reports all of this per drive. On Windows, vendor tools (Dell OpenManage, HPE Smart Storage Administrator) or third-party SMART utilities do the same. For RAID arrays, check the individual physical disks through the RAID controller's own management tool — the OS-level view of a RAID volume won't show per-drive SMART data on its own.
Step 4 — A Short Burn-In Test at Your End
A brief stress test under your own roof, before production deployment, is how "boots fine" becomes "actually stable under load":
- CPU and memory stress — tools like
stress-ng(Linux) or Prime95/MemTest86 (Windows-adjacent) run the CPU and RAM at sustained load, which is exactly the condition most likely to expose a marginal component that passes a quick boot but fails under real heat and voltage. - Run it for a meaningful stretch, not five minutes — a component with a developing fault often survives a short test and fails only after temperatures stabilize at their true sustained level, generally somewhere in the range of several hours to a full day of continuous load.
- Watch temperatures throughout, not just at the end — a CPU or drive that climbs steadily and doesn't plateau is a sign the cooling path (fans, airflow, thermal paste) needs attention before this server goes into production.
- Test network throughput to another known-good machine on your network, especially if the server will be doing anything storage- or network-intensive — a NIC issue rarely shows up in a basic POST check.
Step 5 — Remote Management Access (iDRAC / iLO)
If the server has out-of-band management (Dell iDRAC, HPE iLO, Lenovo XClarity), confirm it's reachable and licensed for the features you expect (remote console, virtual media, health monitoring) before you rack the server somewhere inconvenient to reach physically. This is worth catching on day one — a licensing gap or a management port that won't take an IP is a much smaller problem to fix while the server is still on a desk than after it's deployed in a rack you'd rather not revisit.
If You Find a Problem
Document it before you do anything else — clear photos of physical damage, a screenshot or photo of the POST error or SMART output, and the exact symptom. Contact your seller immediately, referencing your invoice and the DOA/warranty window from your purchase terms (see our buying checklist for what those terms should actually say before you buy). A dealer with real warranty terms in writing will have a straightforward replacement or repair process for exactly this scenario — it's a normal part of buying refurbished hardware, not a sign something went wrong with the purchase decision itself.
Why This Is a Shorter Checklist When You Buy From Serverwale
Every server Serverwale ships already goes through a 72-point quality test — RAM diagnostics, NVMe/drive testing, thermal validation and firmware checks — plus a 72-hour burn-in test under maximum thermal load before it's packed. That doesn't remove the value of testing on your own end (shipping risk is real regardless of who sold the server), but it does mean you're not starting from a completely unknown baseline: the unit was already stress-tested for the exact kind of early-life failures this checklist is designed to catch. Every server ships with a 1-year warranty and a GST invoice, and if anything doesn't check out on your end within the DOA window, our post-sales support handles it directly — not a back-and-forth with a marketplace seller.
Need a server AMC plan for after the warranty window, or ongoing support once the unit is in production? See our server AMC page for what that covers.
Frequently Asked Questions
Q1. How soon after delivery should I test a refurbished server?
Immediately — ideally the same day, and within your dealer's DOA (dead-on-arrival) replacement window, which is typically the first few days after delivery. Issues caught inside this window are usually a straightforward replacement rather than a warranty claim.
Q2. What's the single most important thing to check on arrival?
Drive health (SMART status and power-on hours) and a POST/BIOS check that installed RAM and drives match what you ordered. Storage history is the least visible thing from the outside, and it's the component most likely to have a meaningful difference between units.
Q3. Do I need special tools to test a refurbished server?
Not specialized ones — smartctl (free, part of smartmontools on Linux) covers drive health, your server vendor's own BIOS/RAID utilities cover POST-level checks, and free stress-testing tools (stress-ng, Prime95, MemTest86) cover burn-in. None of this requires paid software.
Q4. How long should a burn-in test run?
Long enough for temperatures to stabilize under sustained load rather than just a quick boot check — generally several hours at minimum, with many buyers running an overnight or full-day test before deploying anything business-critical on the server.
Q5. What if I find a problem during testing?
Document it (photos, screenshots, exact error/symptom) and contact your seller immediately, referencing your invoice and warranty/DOA terms. A dealer with real written warranty terms will have a clear replacement or repair process for exactly this situation.
Q6. Does Serverwale test servers before shipping?
Yes — every server passes a 72-point quality test and a 72-hour burn-in under maximum thermal load before it ships, backed by a 1-year warranty. Testing on your own arrival is still worth doing (shipping is a separate risk), but you're not starting from an unknown baseline.
Final Recommendation
Treat the first day with a refurbished server as part of the purchase, not just the start of deployment — a physical inspection, a POST/BIOS check, SMART drive verification, and a real stress test together take a few hours and catch the overwhelming majority of early-life issues while they're still easy to fix under warranty.
Buying your next refurbished server? Call +91-87962-44410 or browse refurbished servers at Serverwale — every unit ships 72-point tested, burn-in verified, and backed by a 1-year warranty.